Set up SCIM provisioning from Okta
This page guides you through setting up SCIM provisioning from Okta to Ory Network. Also refer to the Okta SCIM documentation for more information.
Create a SCIM App in Okta
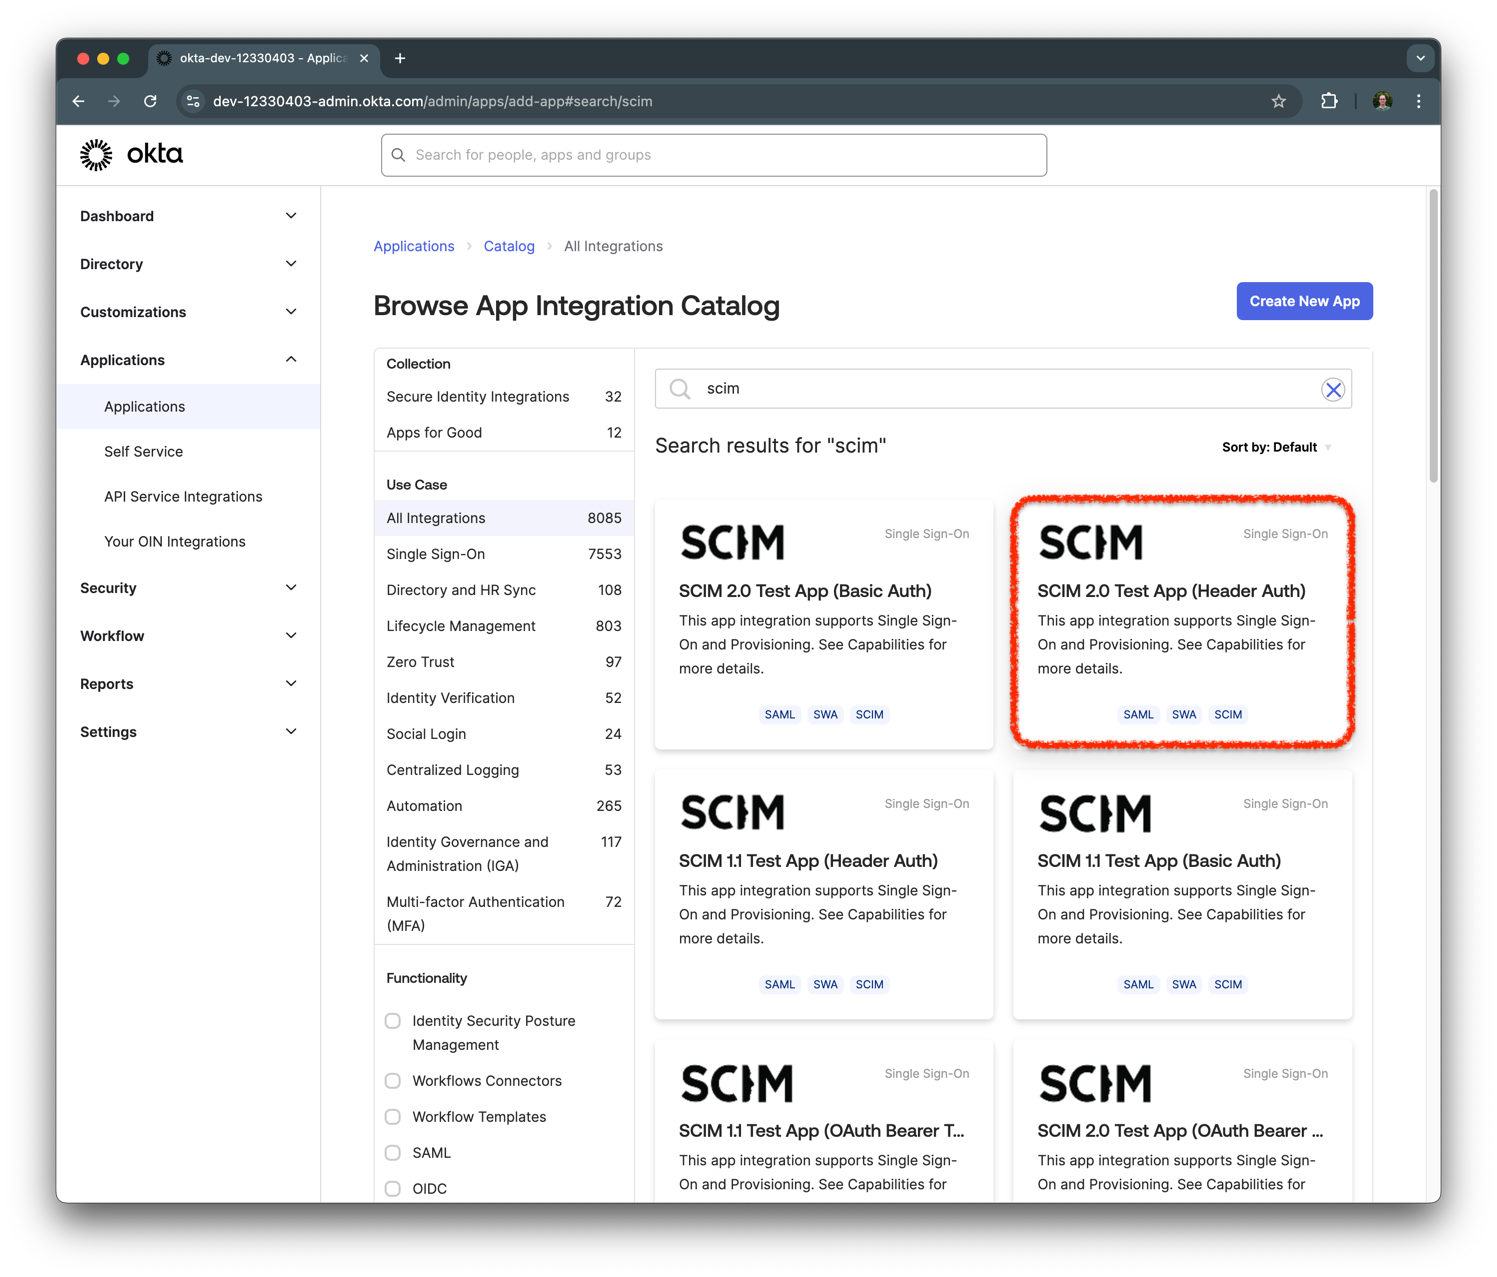
From the Okta admin dashboard, navigate to Applications > Add Application and search for SCIM 2.0 Test App (Header Auth).
Click on the tile to open the app details page, then click Add Integration to add the app to your Okta organization.
Choose a name for the app and click Next.
Complete the wizard by clicking on Done.
Set up provisioning
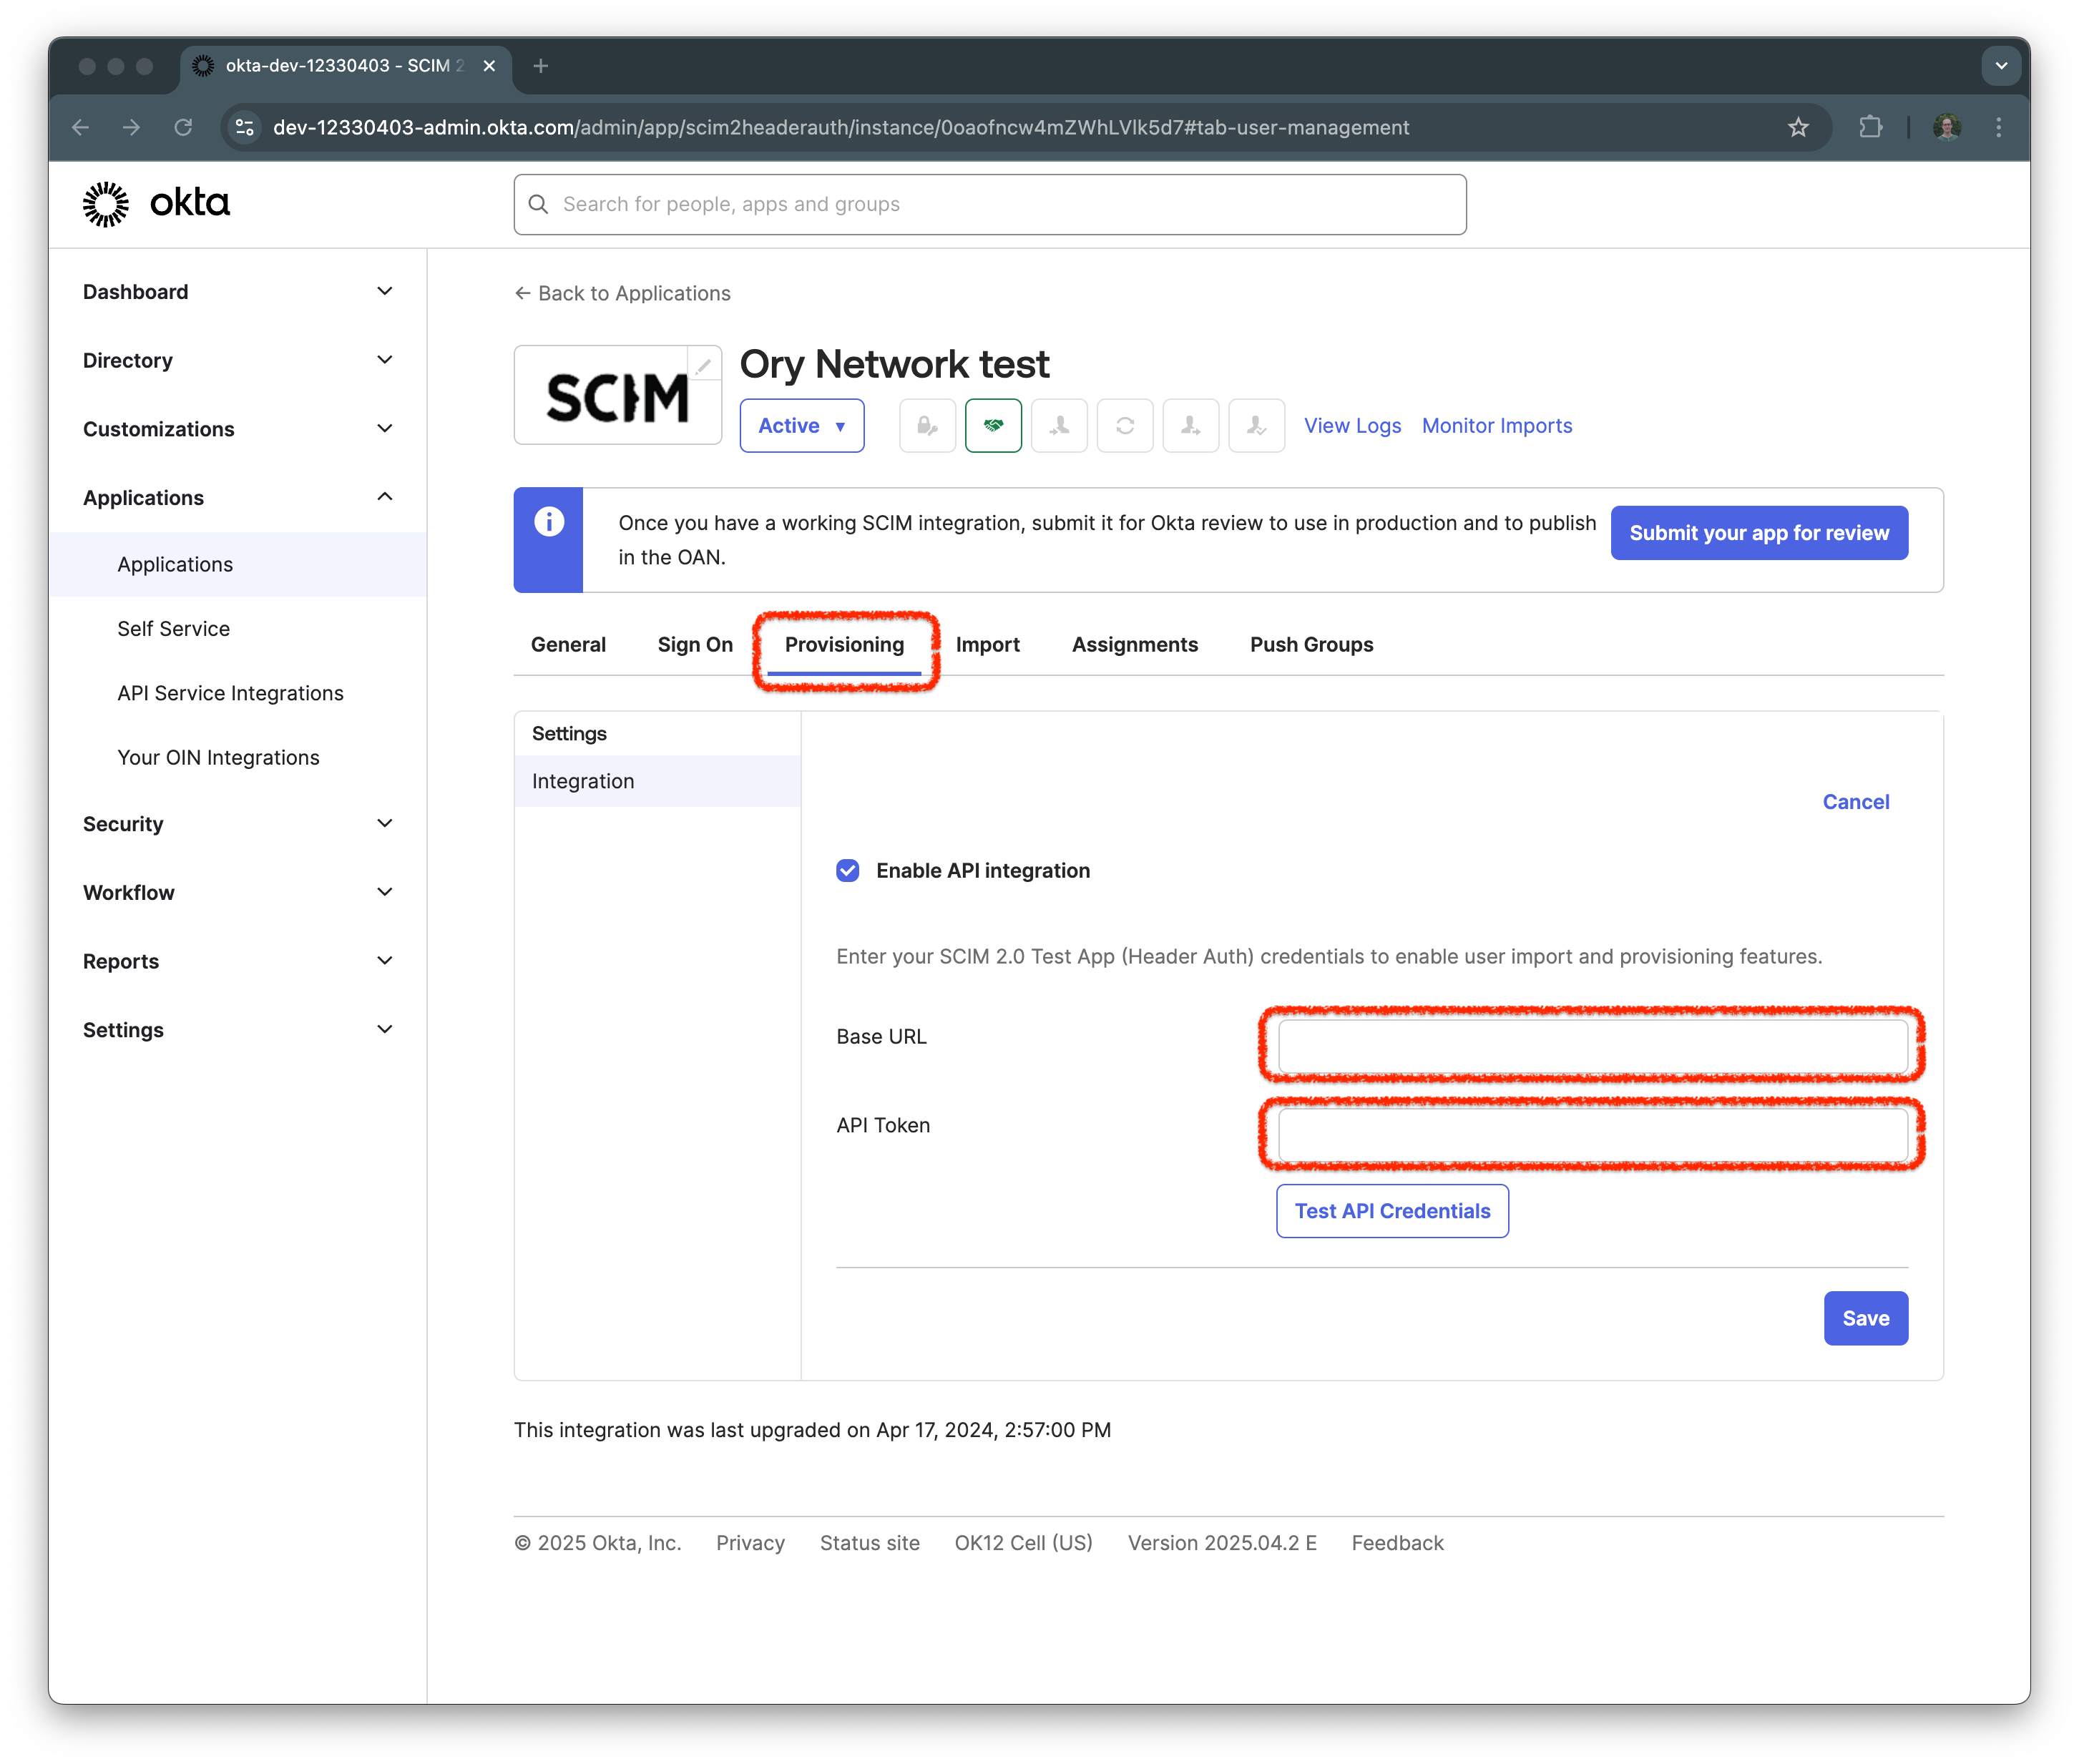
Next, navigate to the Provisioning tab and click on Enable API Integration. For the Base URL, enter the SCIM server URL from your Ory Network SCIM server, and for th API token, enter the SCIM token you created in the Ory Network.
Click Test API Credentials to verify the connection. If successful, you should see a success message.
Click on Edit in the Provisioning tab and check the boxes for Create Users, Update User Attributes, and Deactivate Users. Click Save to save the changes.
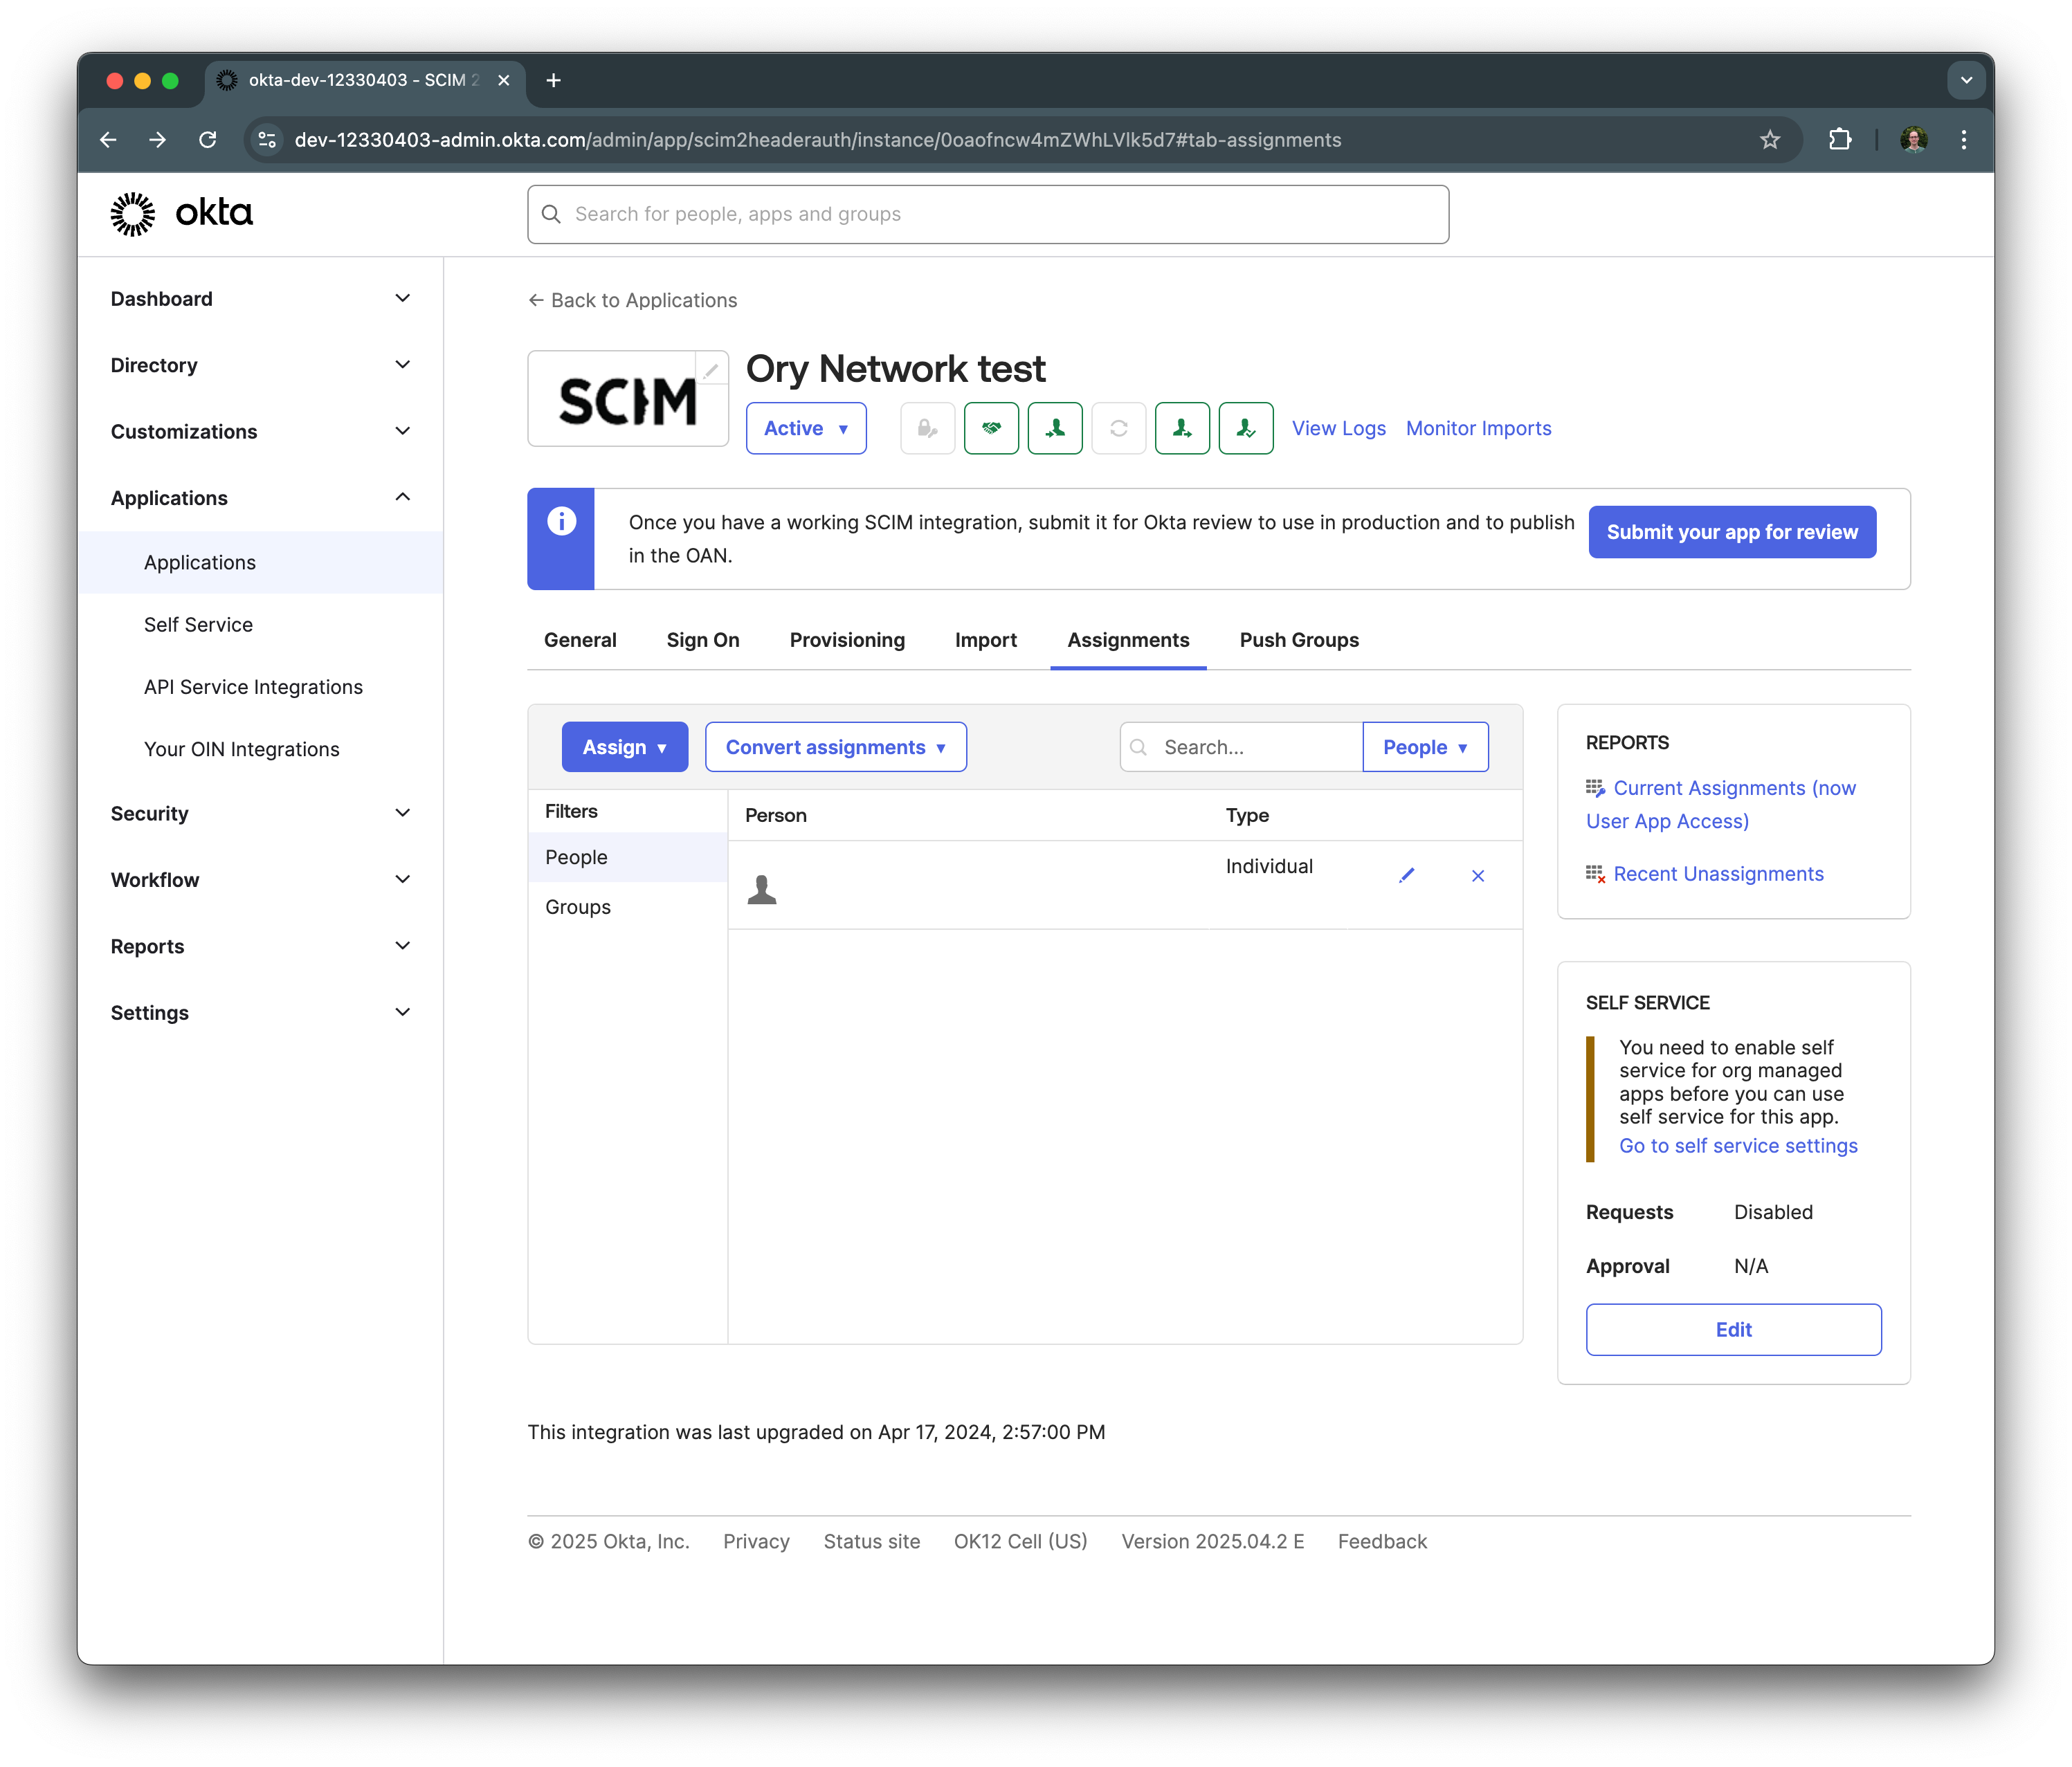
Configure assignments
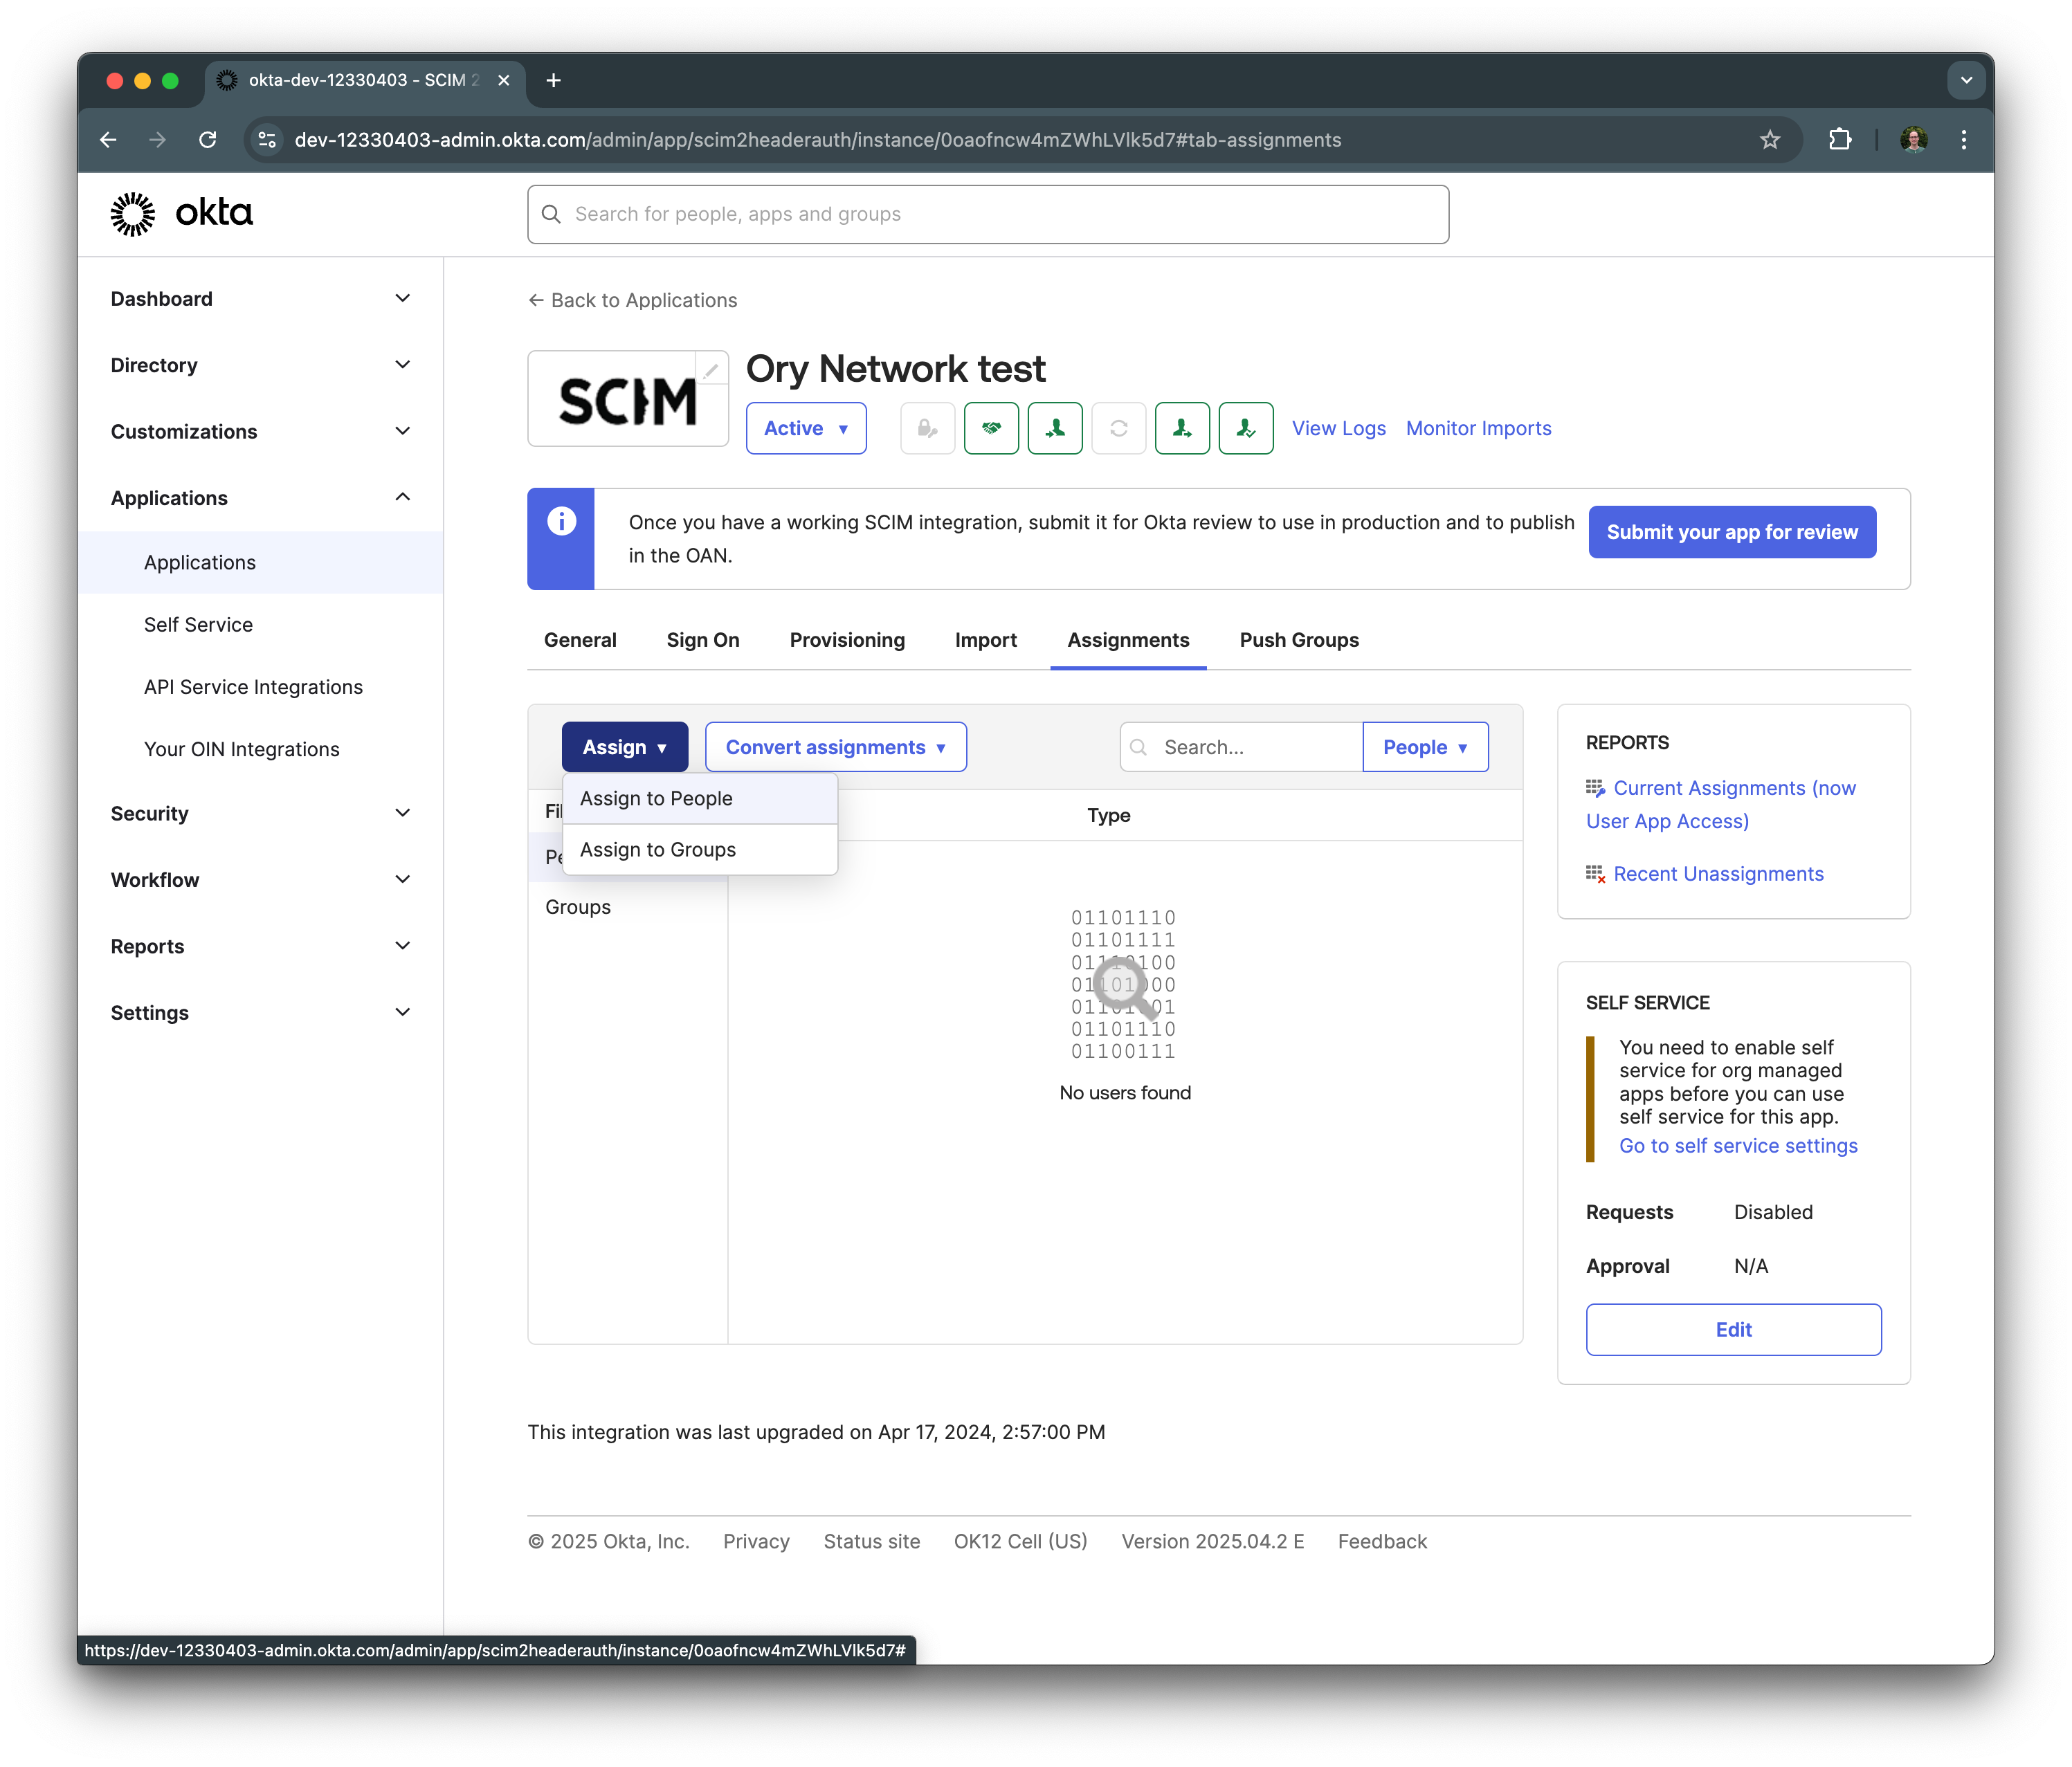
To assign users to the app, navigate to the Assignments tab and click on Assign. You can assign users or groups to the app. Click Assign to People to assign individual users or Assign to Groups to assign groups.
Verify provisioning
After completing the assignment, navigate to the Ory Network SCIM server and verify that the users have been provisioned:
Troubleshooting
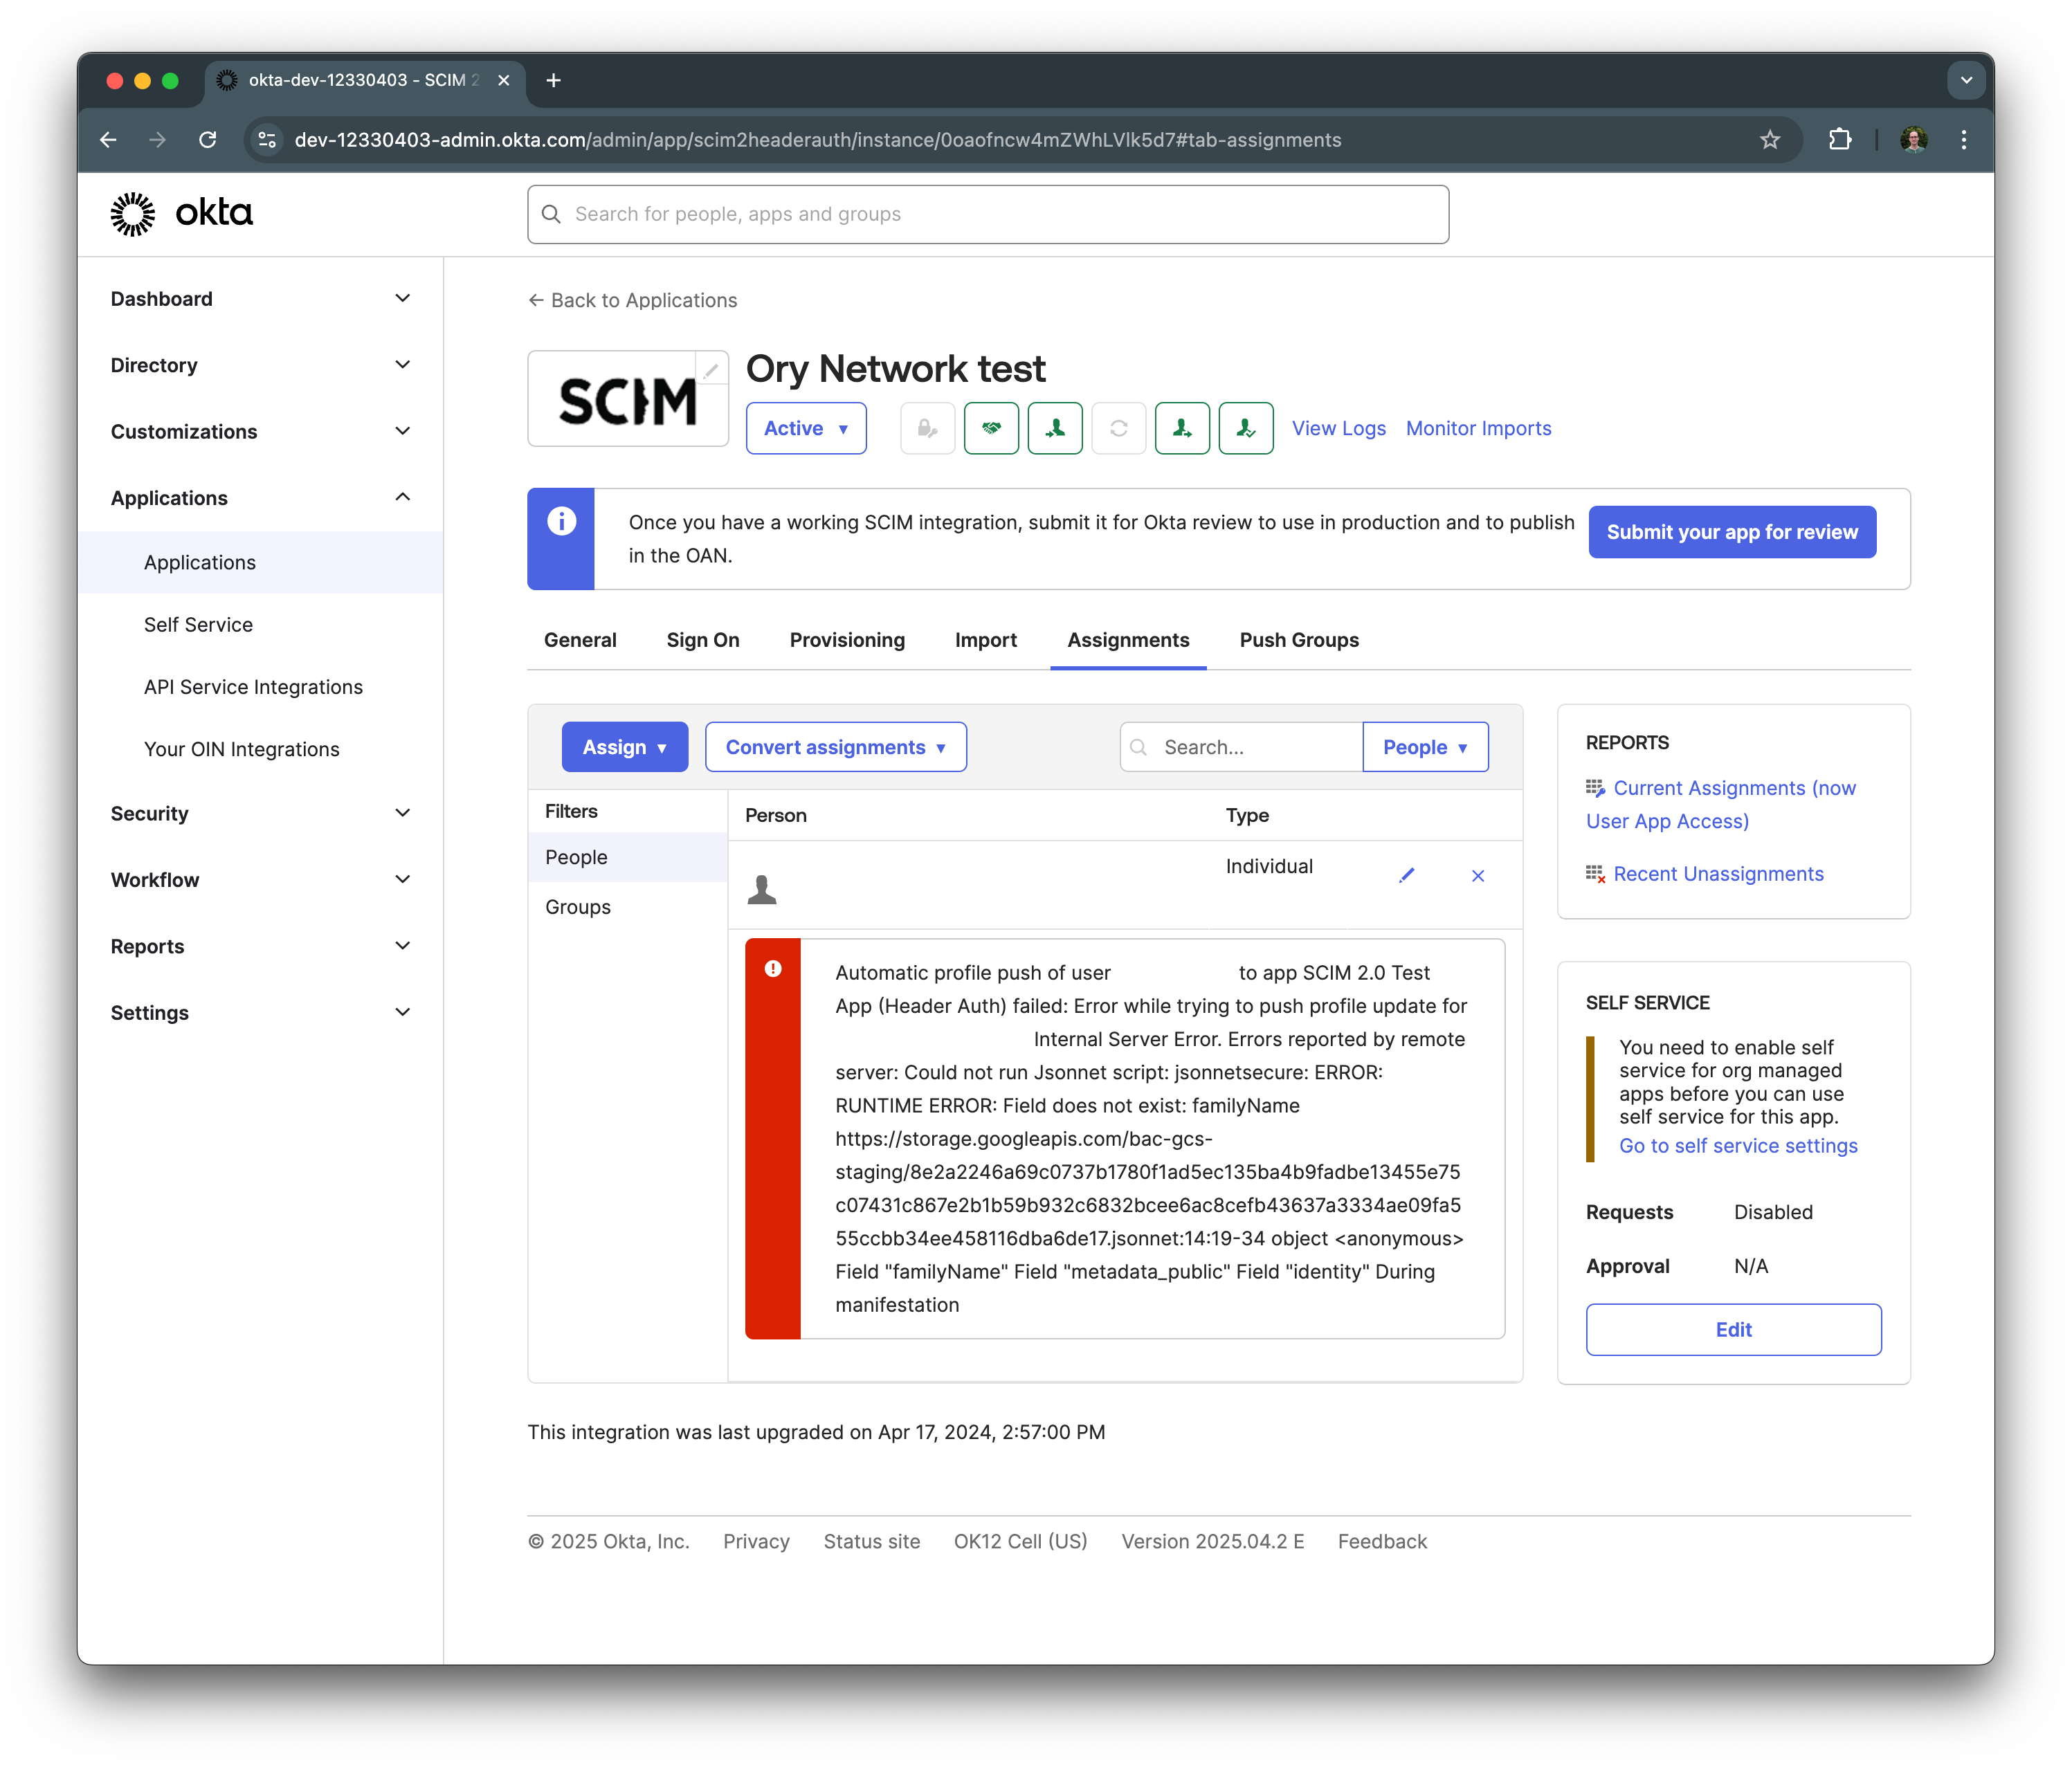
When the provisioning fails, both in Ory Network and Okta you will see an error message. In Ory Network, navigate to
Activity > Logs & Events and look for SCIM provisioning error events.
In Okta, navigate to the Assignments tab and click on the red exclamation mark next to the user. This will show you the error response from Ory Network.